

When baking bread, you want the dough rise perfect without sticking to your proofing basket. It can be frustrate when dough clings on sides, make hard to transfer. Lucky there are ways to prevent this. One best tips is use proofing basket design to keep dough from stick. This article help you know how choose right proofing basket and where find good quality ones for baking.
How to Choose Best Proofing Basket Prevent Dough Sticking
Pick right proofing basket is key keep dough not sticking. First, look baskets from natural stuff like cane or rattan. They absorbs moisture, help dough stay dry and prevent stick. A good basket have rough surface too, that give better grip for dough. Some come with cloth liner, which help also. Make sure basket right size for your dough. If too small, dough expand and sticks sides. If too big, dough not hold shape. And important, dust basket with flour before put dough in. This layer act barrier, make easy remove later.
Where Find Good Proofing Baskets for Wholesale Baking
If look for good proofing baskets, HUOTE good start. We offer variety baskets for different baking. Choose sizes and shapes depend what bread you make. These baskets durable and reliable, good for home or pro bakers. Find them online, easy to browse and order. We make sure every basket with care to high standards. So you trust they work well in kitchen. For big baking, buy bulk save money. Our wholesale for business stock baking stuff. Plus, often special deals.
What Material Best for Proofing Baskets Avoid Sticking
When make bread, you want it rise nice. Many use sour dough basket hold dough while rising. But problem, dough can stick. To stop, material important. Best are rattan and cane. They strong and have special texture keep dough not stick. Rattan cane let air flow, help rise better. Bread need breathe when rising. If no rattan cane, use plastic or silcone basket. They smooth, prevent stick too. But less air flow than rattan. If use plastic, dust well with flour first. This make barrier, less stick. Right material make big differ in bread.
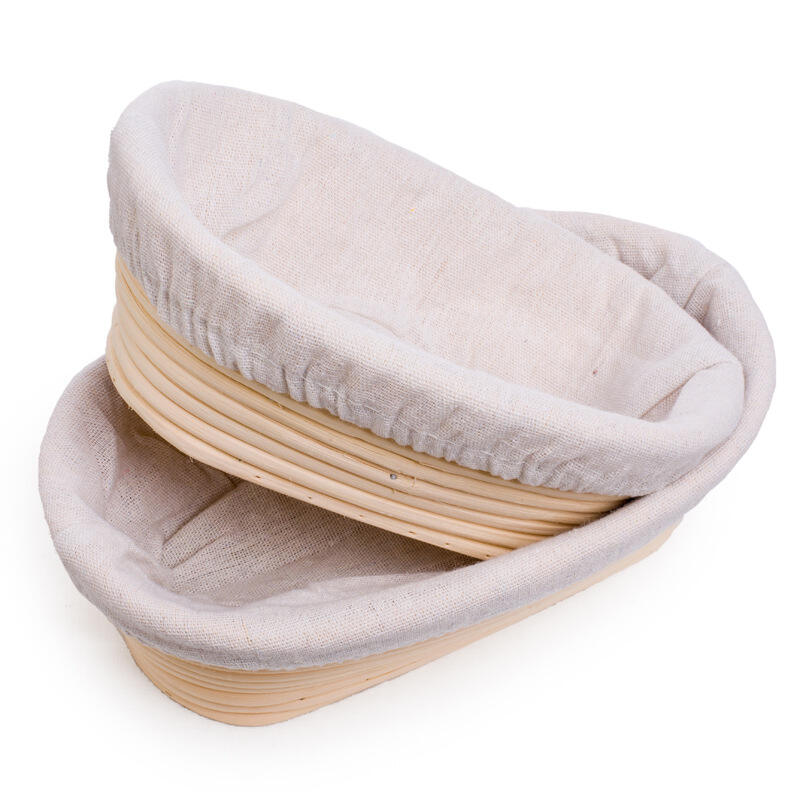
How Use Liners Good in Proofing Baskets Prevent Sticking
Use liners in fermentation basket ban great way stop dough stick. Liner is cloth or paper inside basket before dough. It barrier so dough not touch direct. To use good, pick right material. Clean towel or proofing cloth work. Or parchment paper, non-stick easy find. Put liner in basket, cover sides bottom. If towel, tuck it stay place. Then sprinkle flour on liner. This keep dough not stick liner. Now place dough on it.
How Fix and Prevent Sticking
Even do right, sometimes dough still bread proofing basket ways fix and stop future. If stuck, loosen gentle with fingers. Or small spatula lift edges careful, avoid tear dough. If tight, flip basket down and shake little. Can help come out. To prevent, always flour basket generous. Try rice flour, less sticky. Also, dough not too wet. If sticky, add more flour before in basket. And pick right material like before.